本文共 8841 字,大约阅读时间需要 29 分钟。
1、什么是Spring Boot Admin?
Spring Boot Admin主要是用于管理和监控SpringBoot的应用,应用程序可以通过Spring Boot Admin Client向Admin Server进行注册或者使用Eureka、Consul这样的Spring Cloud注册中心来发现。
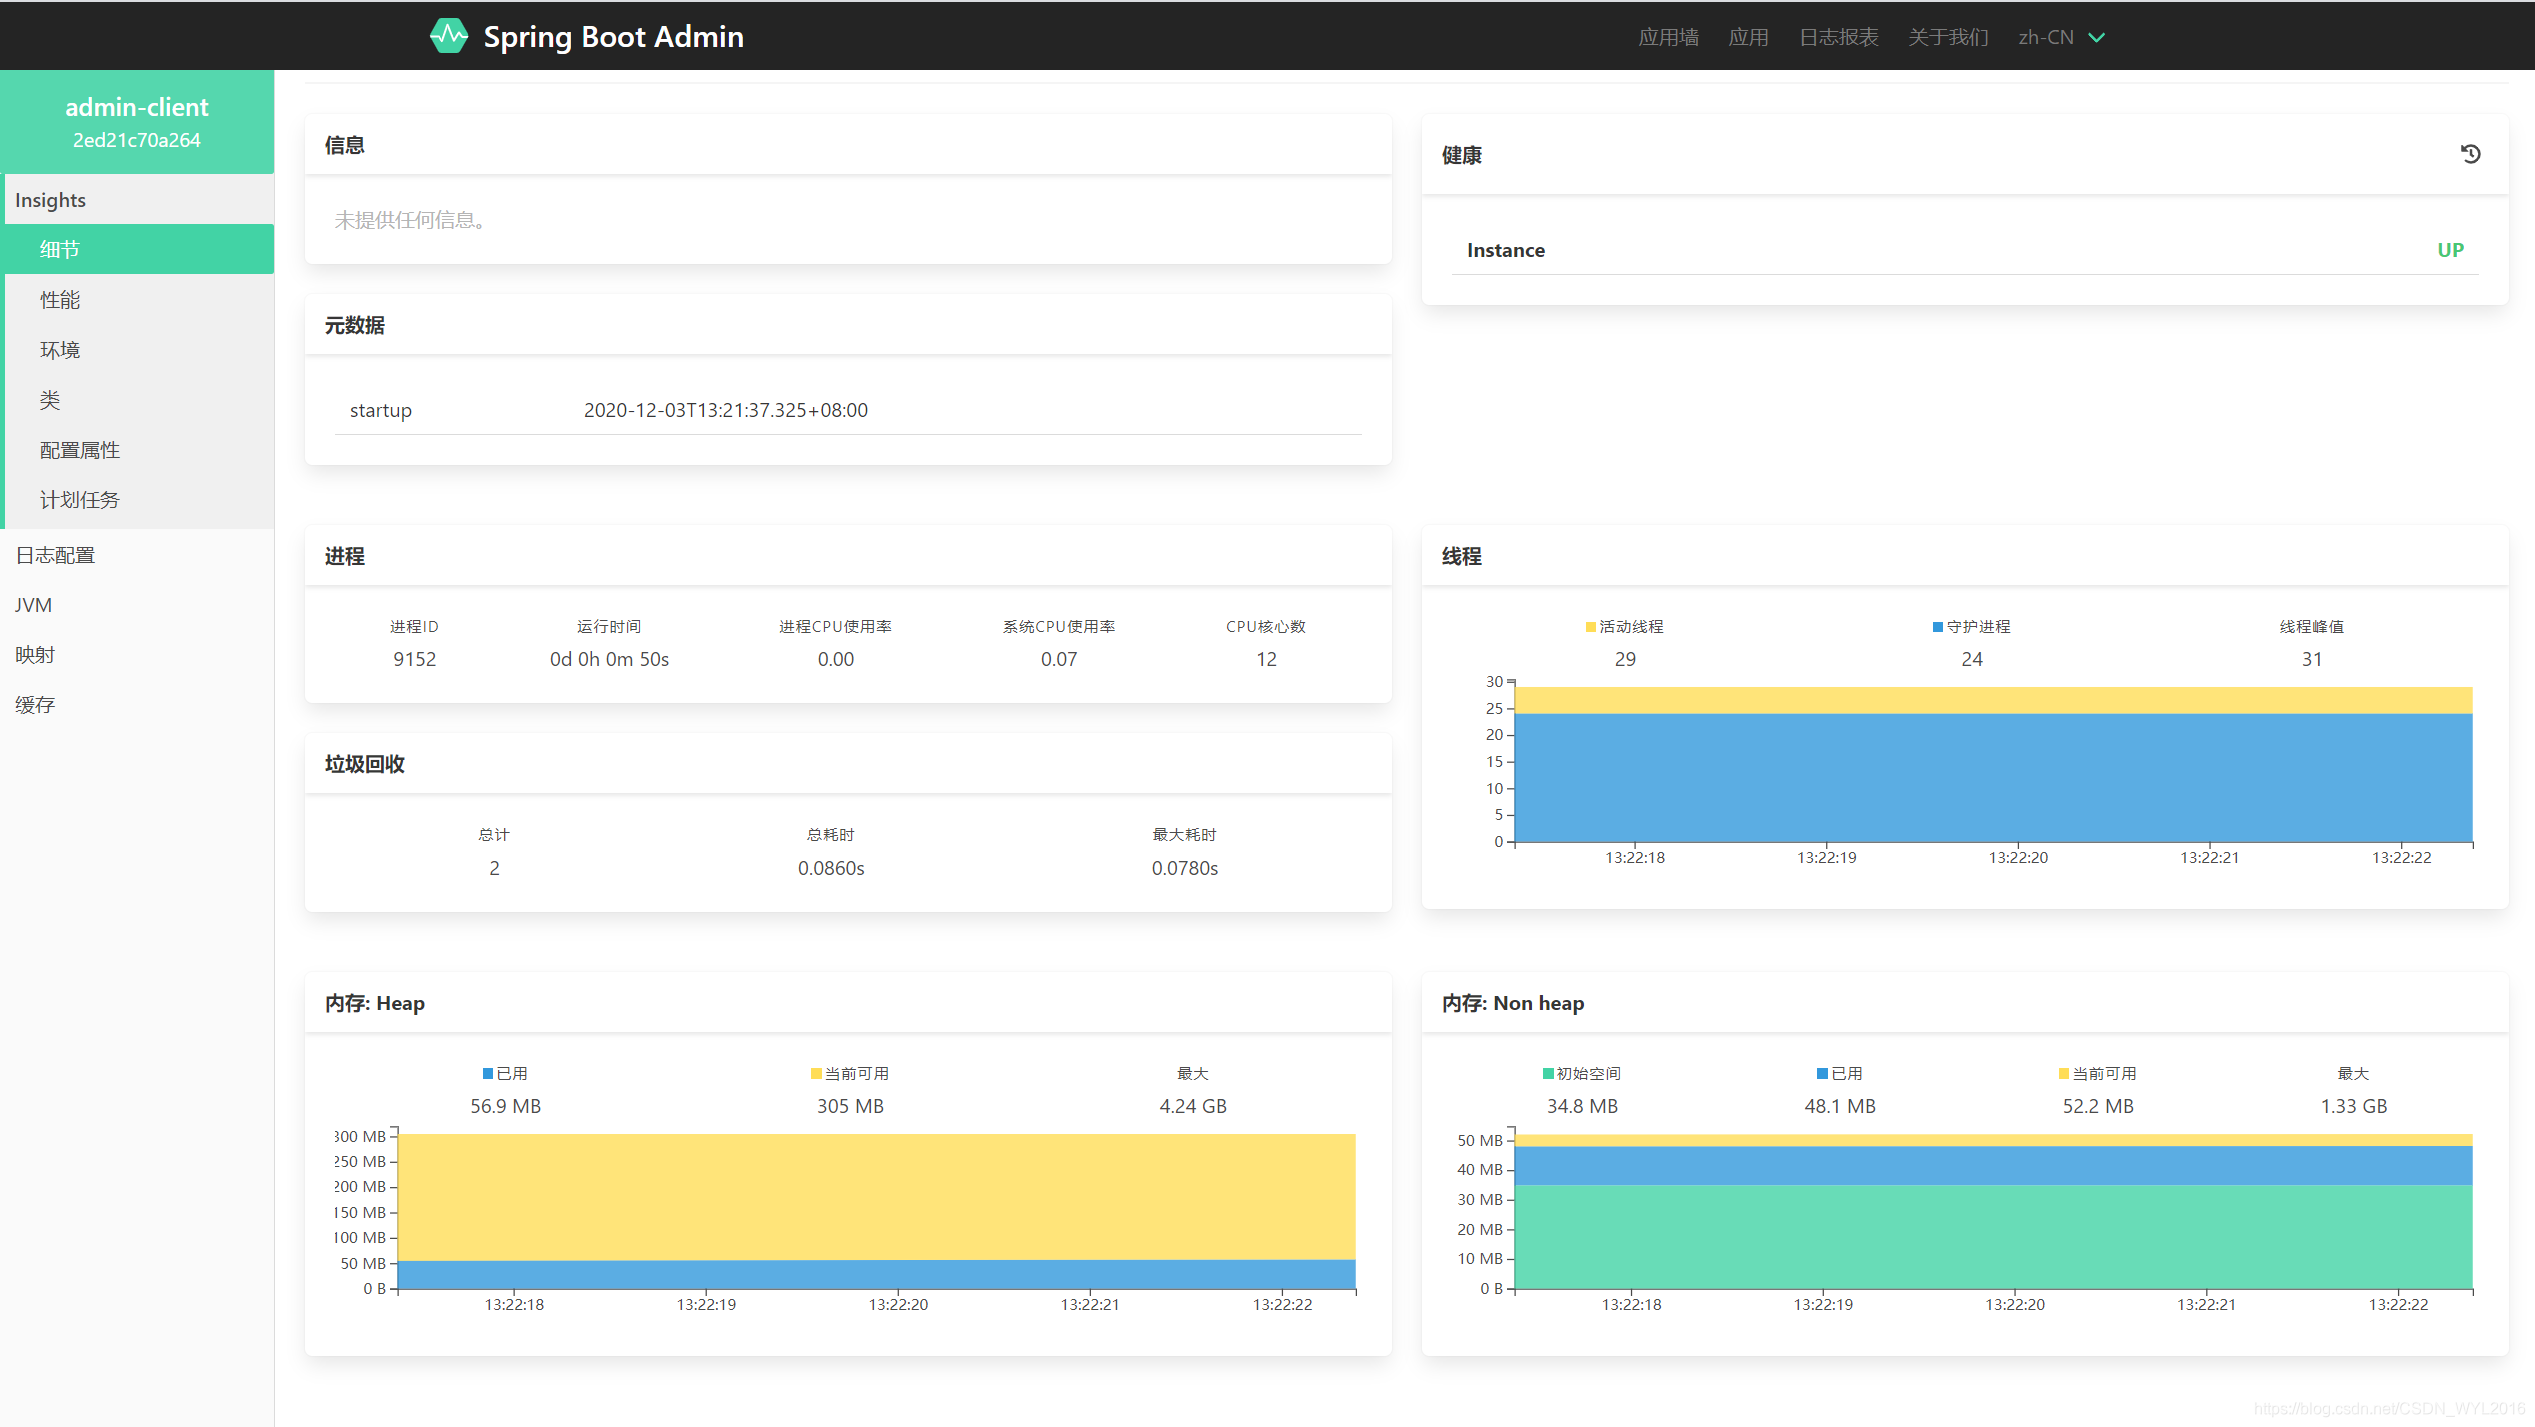
Spring Boot Admin为注册的应用程序提供以下功能:
- 显示健康状况
- 显示详细信息,例如
- JVM和内存指标
- micrometer.io指标
- 数据源指标
- 缓存指标
- 显示内部编号
- 关注并下载日志文件
- 查看JVM系统和环境属性
- 查看Spring Boot配置属性
- 支持Spring Cloud的可发布/ env-&/ refresh-endpoint
- 轻松的日志级别管理
- 与JMX-beans交互
- 查看线程转储
- 查看http-traces
- 查看审核事件
- 查看http端点
- 查看预定的任务
- 查看和删除活动会话(使用spring-session)
- 查看Flyway / Liquibase数据库迁移
- 下载heapdump
- 状态更改通知(通过电子邮件,Slack,Hipchat等)
- 状态更改的事件日志(非持久性)
2、快速开始
2.1、 配置Spring Boot Admin Server
首先只需要简单的通过start.spring.io创建一个项目,由于Spring Boot Admin Server能够作为servlet或webflux应用程序运行,因此您需要对此进行决定并添加相应的Spring Boot Starter。在此示例中,我们使用Servlet Web Starter。
添加相关依赖
org.springframework.boot spring-boot-starter-web de.codecentric spring-boot-admin-starter-server 2.3.1
通过添加@EnableAdminServer到配置中来引入Spring Boot Admin Server配置
@SpringBootApplication@EnableAdminServerpublic class AdminApplication { public static void main(String[] args) { SpringApplication.run(AdminApplication.class, args); }} 修改配置文件
# 应用程序名称spring.application.name=SpringBootAdmin# 应用程序端口server.port=8080
第一阶段完成,此时服务已经可以正常启动。

2.2、配置 Spring Boot Admin Client
新创建一个项目,并添加依赖
de.codecentric spring-boot-admin-starter-client 2.3.1 org.springframework.boot spring-boot-starter-web
修改配置文件
# 应用程序名称spring.application.name=admin-client# 应用程序端口server.port=9090# 要在其中注册的Spring Boot Admin Server的URL。spring.boot.admin.client.url=http://localhost:8080# 与Spring Boot 2一样,默认情况下,大多数端点都不通过http公开,我们公开了所有端点。对于生产,您应该仔细选择要公开的端点。management.endpoints.web.exposure.include=*
启动类无需修改,直接启动项目
@SpringBootApplicationpublic class AdminClientApplication { public static void main(String[] args) { SpringApplication.run(AdminClientApplication.class, args); }} 再次访问8080,成功注册


3、结合Eureka注册中心使用
Eureka服务端、客户端搭建可以参考
3.1、Admin Server注册到Eureka注册中心
在前面配置的Admin Server基础上,添加Eureka Client相关依赖。
org.springframework.cloud spring-cloud-starter-netflix-eureka-client 2.2.6.RELEASE
启动类,添加@EnableEurekaClient,让注册中心发现
@SpringBootApplication@EnableAdminServer@EnableEurekaClientpublic class AdminApplication { public static void main(String[] args) { SpringApplication.run(AdminApplication.class, args); }} 修改配置项
# 应用程序名称spring.application.name=spring-boot-admin# 应用程序端口server.port=8080management.endpoints.web.exposure.include=*management.endpoint.health.show-details=always# eureka客户端配置eureka.client.service-url.defaultZone=http://eurekaServer1.com:18001/eureka/eureka.instance.prefer-ip-address=true#注册中心显示的实例ID,可以用ip地址加端口来区别eureka.instance.instance-id=${ spring.cloud.client.ip-address}:${ server.port}eureka.instance.health-check-url-path=/actuator/health 启动服务,注册中心列表和admin都已经完成注册

3.2、Admin Client注册到Eureka注册中心
在前面Admin Client基础上,添加Eureka Client相关依赖
org.springframework.cloud spring-cloud-starter-netflix-eureka-client 2.2.6.RELEASE
修改配置文件
# 应用程序名称spring.application.name=admin-client# 应用程序端口server.port=9090# 通过注册中心发现,就不需要自己注册了#spring.boot.admin.client.url=http://localhost:8080# 与Spring Boot 2一样,默认情况下,大多数端点都不通过http公开,我们公开了所有端点。对于生产,您应该仔细选择要公开的端点。management.endpoints.web.exposure.include=*management.endpoint.health.show-details=always# eureka客户端配置eureka.client.service-url.defaultZone=http://eurekaServer1.com:18001/eureka/eureka.instance.prefer-ip-address=true#注册中心显示的实例ID,可以用ip地址加端口来区别eureka.instance.instance-id=${ spring.cloud.client.ip-address}:${ server.port}eureka.instance.health-check-url-path=/actuator/health 启动类
@SpringBootApplication@EnableEurekaClientpublic class AdminClientApplication { public static void main(String[] args) { SpringApplication.run(AdminClientApplication.class, args); }} 服务启动,完成Eureka和Admin的注册

4、配置Spring Security
基于安全性方面考虑,还可以集成Security。
Admin Server端,添加Security相关依赖
org.springframework.boot spring-boot-starter-security
启动类
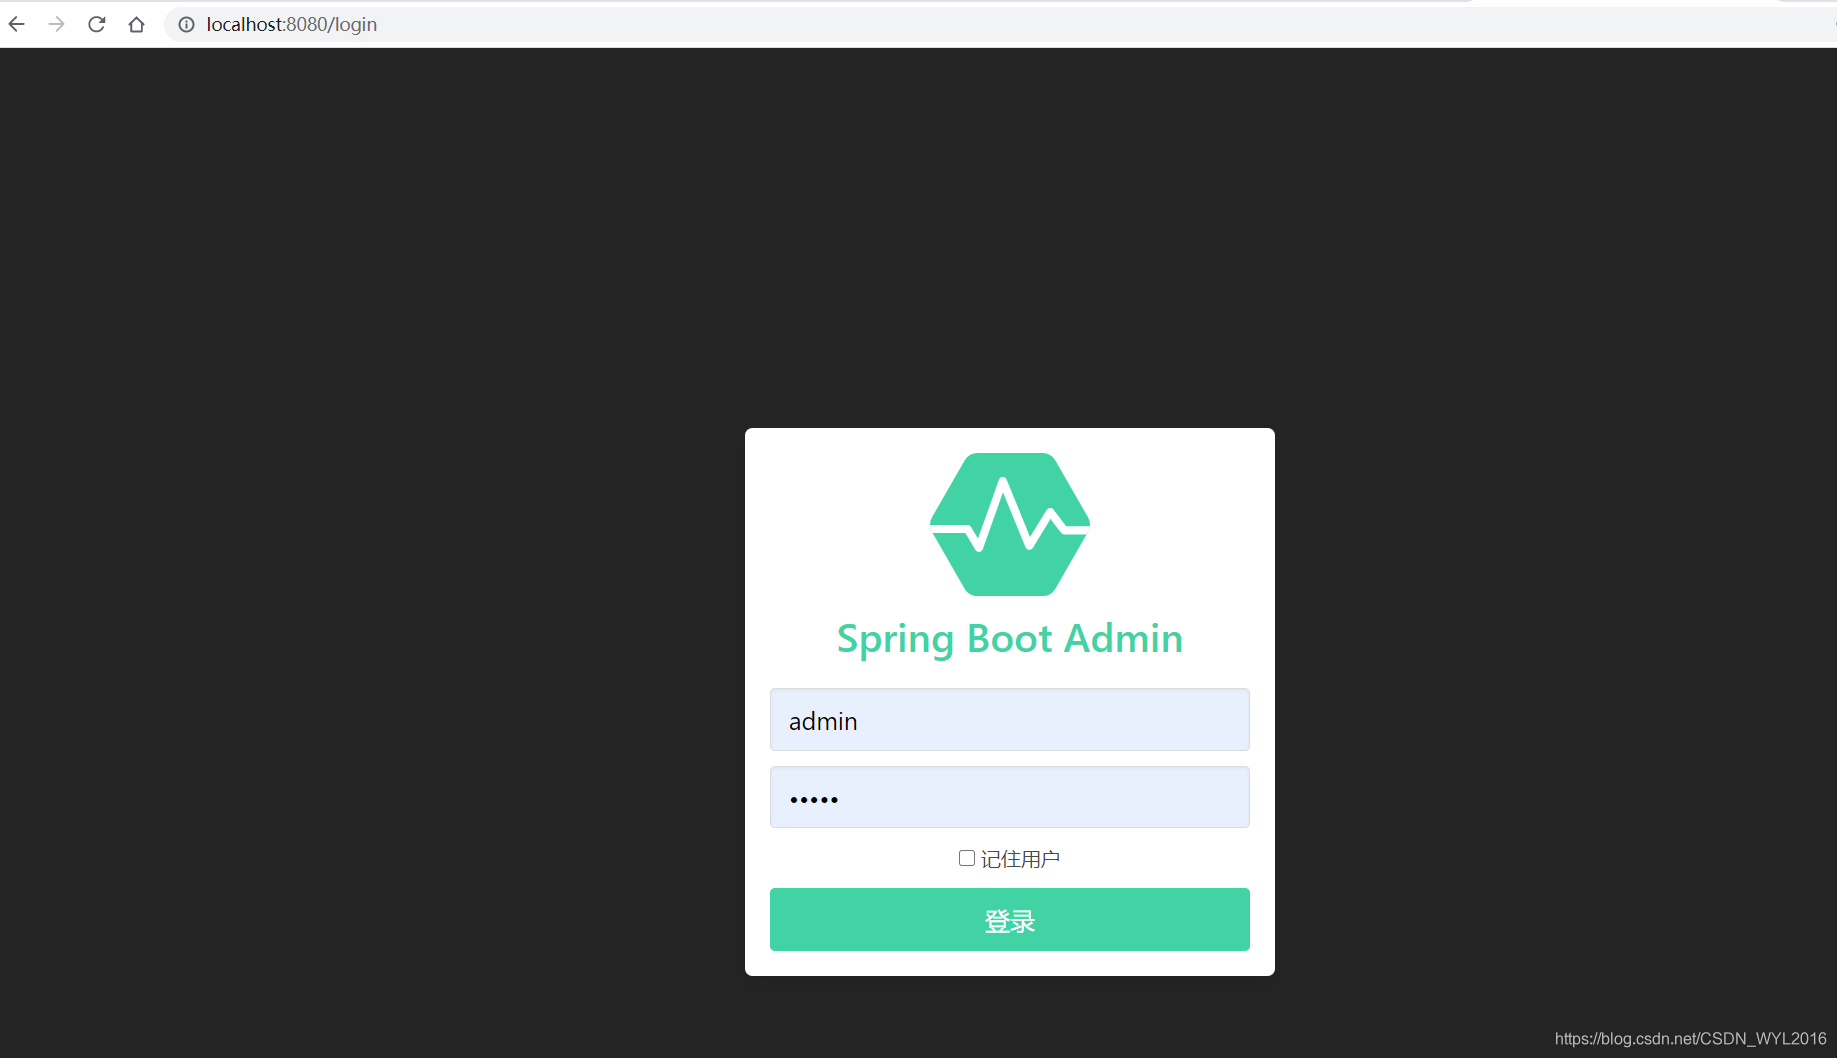
import de.codecentric.boot.admin.server.config.AdminServerProperties;import de.codecentric.boot.admin.server.config.EnableAdminServer;import org.springframework.boot.SpringApplication;import org.springframework.boot.autoconfigure.SpringBootApplication;import org.springframework.cloud.netflix.eureka.EnableEurekaClient;import org.springframework.context.annotation.Configuration;import org.springframework.http.HttpMethod;import org.springframework.security.config.Customizer;import org.springframework.security.config.annotation.web.builders.HttpSecurity;import org.springframework.security.config.annotation.web.configuration.WebSecurityConfigurerAdapter;import org.springframework.security.web.authentication.SavedRequestAwareAuthenticationSuccessHandler;import org.springframework.security.web.csrf.CookieCsrfTokenRepository;import org.springframework.security.web.util.matcher.AntPathRequestMatcher;import java.util.UUID;@SpringBootApplication@EnableAdminServer@EnableEurekaClientpublic class AdminApplication { public static void main(String[] args) { SpringApplication.run(AdminApplication.class, args); } @Configuration public class SecuritySecureConfig extends WebSecurityConfigurerAdapter { private final AdminServerProperties adminServer; public SecuritySecureConfig(AdminServerProperties adminServer) { this.adminServer = adminServer; } @Override protected void configure(HttpSecurity http) throws Exception { SavedRequestAwareAuthenticationSuccessHandler successHandler = new SavedRequestAwareAuthenticationSuccessHandler(); successHandler.setTargetUrlParameter("redirectTo"); successHandler.setDefaultTargetUrl(this.adminServer.path("/")); http.authorizeRequests( (authorizeRequests) -> authorizeRequests.antMatchers(this.adminServer.path("/assets/**")).permitAll() // 授予公众对所有静态资产和登录页面的访问权限。 .antMatchers(this.adminServer.path("/login")).permitAll().anyRequest().authenticated() //其他所有请求都必须经过验证。 ).formLogin( (formLogin) -> formLogin.loginPage(this.adminServer.path("/login")).successHandler(successHandler).and() // 配置登录和注销。 ).logout((logout) -> logout.logoutUrl(this.adminServer.path("/logout"))).httpBasic(Customizer.withDefaults()) // 启用HTTP基本支持。这是Spring Boot Admin Client注册所必需的。 .csrf((csrf) -> csrf.csrfTokenRepository(CookieCsrfTokenRepository.withHttpOnlyFalse()) //使用Cookies启用CSRF保护 .ignoringRequestMatchers( new AntPathRequestMatcher(this.adminServer.path("/instances"), HttpMethod.POST.toString()), // 禁用Spring Boot Admin Client用于(注销)注册的端点的CSRF-Protection。 new AntPathRequestMatcher(this.adminServer.path("/instances/*"), HttpMethod.DELETE.toString()), // 禁用Spring Boot Admin Client用于(注销)注册的端点的CSRF-Protection。 new AntPathRequestMatcher(this.adminServer.path("/actuator/**")) // 对执行器端点禁用CSRF-Protection。 )) .rememberMe((rememberMe) -> rememberMe.key(UUID.randomUUID().toString()).tokenValiditySeconds(1209600)); } }} 修改Admin Server配置文件,新增如下配置。
spring.security.user.name=adminspring.security.user.password=admineureka.instance.metadata-map.user.name=${ spring.security.user.name}eureka.instance.metadata-map.user.password=${ spring.security.user.password} 访问Admin Server,输入账号密码,admin/admin。
5、邮件通知
Admin Server服务中,添加邮件相关依赖
org.springframework.boot spring-boot-starter-mail
新增相关配置项
spring.mail.host=smtp.qq.com# to和from都要配置,否则发送邮件时会报错spring.boot.admin.notify.mail.to=263527944@qq.comspring.boot.admin.notify.mail.from=263527944@qq.com# 邮件的用户名和密码spring.mail.username=263527944@qq.comspring.mail.password=wmdnczgokxvrcajc
未配置spring.boot.admin.notify.mail.from
org.springframework.mail.MailSendException: Failed messages: com.sun.mail.smtp.SMTPSendFailedException: 501 Mail from address must be same as authorization user.

账号或密码错误
javax.mail.AuthenticationFailedException: 535 Login Fail. Please enter your authorization code to login

成功收到服务上下线的邮件


5、日志配置
默认情况下,日志文件无法通过执行器端点访问,因此在Spring Boot Admin中不可见。为了启用日志文件执行器端点,您需要通过设置logging.file.path或将Spring Boot配置为写入日志文件 logging.file.name。
新增配置项
# 日志文件路径logging.file.path=D:\\idea_workspace\\springcloud\\admin\\log# 文件格式logging.pattern.file=%clr(%d{yyyy-MM-dd HH:mm:ss.SSS}){faint} %clr(%5p) %clr(${PID}){magenta} %clr(---){faint} %clr([%15.15t]){faint} %clr(%-40.40logger{39}){cyan} %clr(:){faint} %m%n%wEx 可以动态调整日志级别

转载地址:http://rllrb.baihongyu.com/